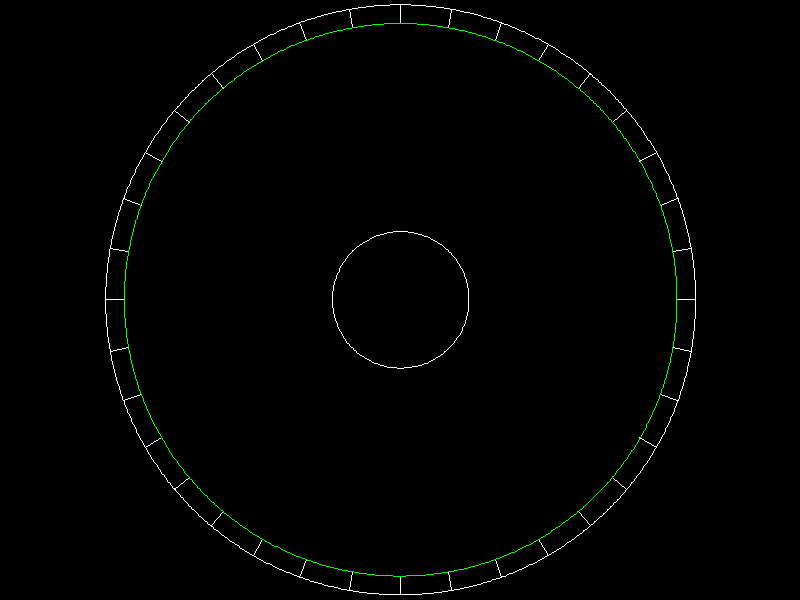
Here is a crayon drawing I made of hte general idea, with some extras

Differences being that were gonna skip the robot its
attached to, and the pulley thats atached to it, and instead of a nail
were gonna use a bolt.
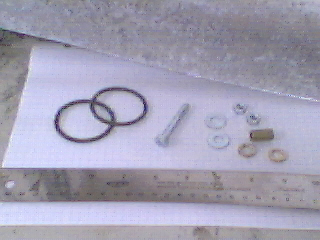
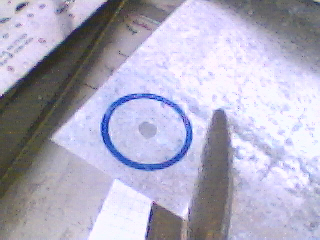
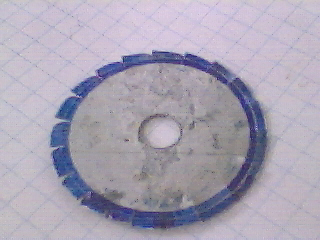
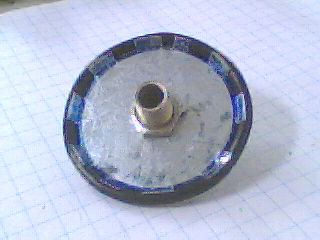
Here is what your gonna need to make this wheel and where to get it all| Rubber O rings |
Automotive part shop |
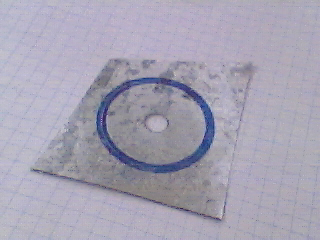
| 6"x12" of galvanized flashing |
Building supplies store |
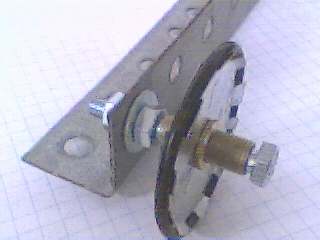
| 2" x 1/4" bolt |
Building supplies store |
| 2 x 1/4" nuts |
Building supplies store |
| 2 x 1/4" washers |
Building supplies store |
| box of misc lamp fittings |
Building supplies store |