


 |
 |
 |
|
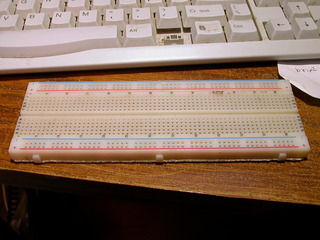
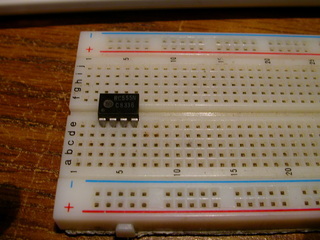
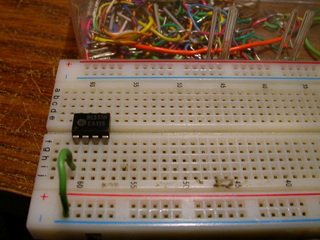
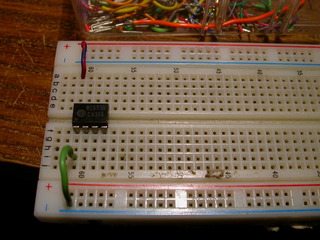
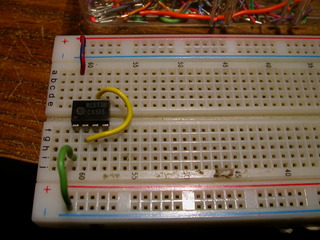
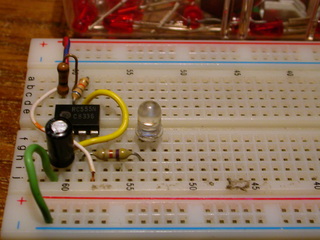
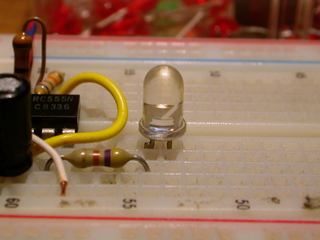
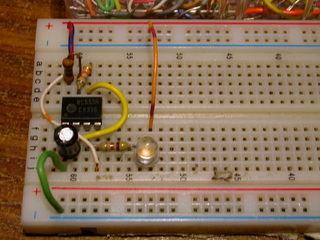
>Here is how to assemble a flashing led on a breadboard. This is a good thing for getting used to breadboards and assembling circuits and all that stuff. |  |
 |
 |
 |


|
|
|
|||||||||
|
555 LED Flasher
|
|
|||||||||
|
|
|
 |
 |
 |
||||||||||||||||||||||
 |

|
 |
||||||||||||||||||||||
 |
 |
 |
|
|
|
|||||||||||||
|
|
|
|||||||||||||
|
|
|
|
|
|
|||||||||||||
|
|
|
|||||||||||||
|
|
|
|
|
|
|||||||||||||
|
|
|
|||||||||||||
|
|
|
|
|
|
|||||||||||||
|
|
|
|||||||||||||
|
|
|
|
|
|
|||||||||||||
|

|
|
|||||||||||||
|
|
|
|
|
|
|||||||||||||
|
|
|
|||||||||||||
|
|
|
|
|
|
|||||||||||||
|
|
|
|||||||||||||
|
|
|
|
|
|
|||||||||||||
|
|
|
|||||||||||||
|
|
|
|
|
|
|||||||||||||
|

|
|
|||||||||||||
|
|
|
|
|
|
||||||||||||||||||||||
|
|
|
||||||||||||||||||||||
|
|
|
|
|
|
|||||||||||||
|
|
|
|||||||||||||
|
|
|

