I have a xy bed plotter, Roland DXY880A.
Its set it up with a special bracket that I fit pcb's up against to have the plotter write on them with etch resistant ink.
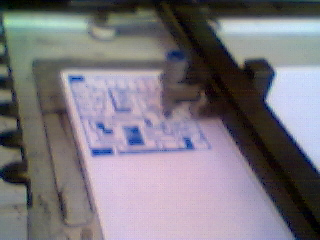
First I plot a test on paper, this gives me an idea if anything is wrong, and tells me the size of the piece of board I need to cut.
Here is a bad photo (ok, there all bad, this one is extra so):
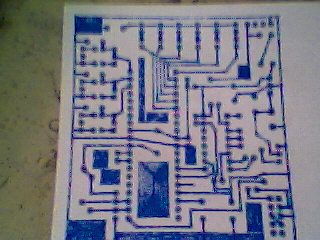
This is the finished plot, note that because its being printed on the copper side, its left-right mirrored
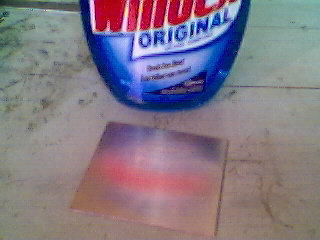
Next, a piece of pcb is cut and cleaned with superfine steel wool. After that its cleaned off with windex, alchohol, or acetone this gets the 'dust' out of the grooves.
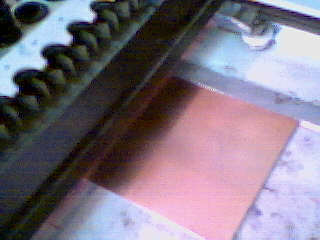
The pcb is placed against the upper edge of the bracket, the top right and bottom left corners are taped down.
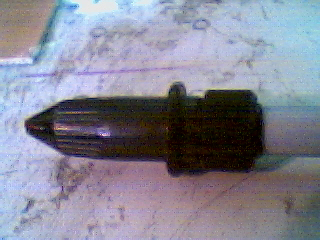
The pen is put in its little holder, and run around on some paper to get it going. The tip needs to be barely out of the holder, any lower and it smacks into the side of the pcb. Its a felt tipped pen. Black staedtler lumicolour or Black BIC "softfeel" permenent felt-tipped markers are the only ones I have found that work.
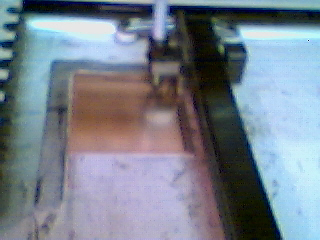
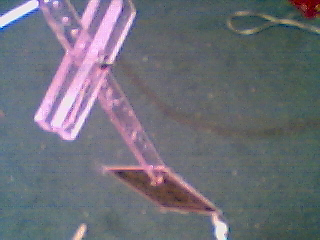
With the pen clipped in, the "go" button is hit on the computer to start drawing, too long sitting there and it dries up.
Plotter prints to pcb...
Its about this time the etchant tank is filled and plugged in, starts warming up...
I use ammonuim perfulfate because "it makes less of a mess"

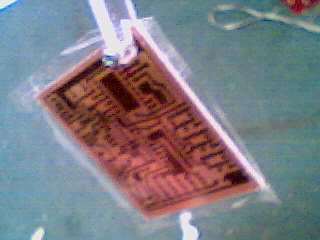
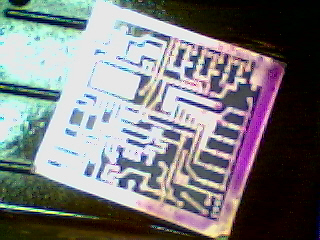
PCB all ready to be etched, note the really dark layer of ink, this is important. I find that hand drawn traces cannot get the layer of ink right, the plotter does it perfectly.

The PCB is masked around the edges as an "etchant saver" method, and its clamped into the dipping bracket...
I usually run a ground line all the way around my circuits, its enhanced by the tape mask.
The top of the bracket holds the clamp up on the edges of the tank. There are sever holes to adjust the height. Stainless steel bolt/nuts.
After its done etching, its washed off with water and dired, to make sure there is no residual etchant on the copper.
Then its put in a tray of alcohol or acetone, the ink washes away.
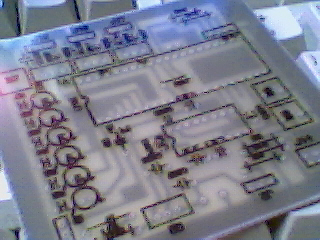
PCB all nice and clean...

Its put back under the plotter, this time for its "silk screen" usually a finer tipped pen is used, usually one of the ones a little too dried up for printing the traces. This time when its put in, its put up against the left edge of the bracket, because of the way the bracket is positioned, its a perfect flip between the top left and bottom right corners.

Nicely aligned silkscreen.. Part of the trick is to make sure that the pens are aligned in the middle for both sides.

Next step takes us to a 10" drill press, I double-side-tape a piece of 1 inch foam onto the drillpres' table. I have a #57 carbide drillbit with a 1/8 inch shank. The press is also set up with an air nozzel that blows away 'bits'. The foam gives me a surface safe to dill into. I drill with the copper side up. Its important to make sure nothing moves while drilling, or you will break the bit.
Drilling comenses (all hand aligned)
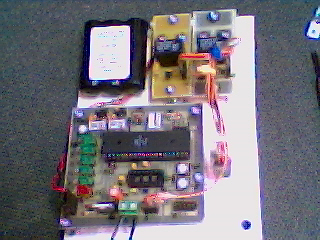
Holes are populated with parts via the usual soldering gig...
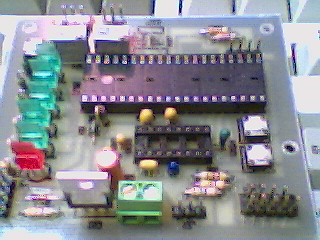
Board is mounted. Customer is inflicted with product, there is verbal and financial transaction. Life goes on.
End.
Its set it up with a special bracket that I fit pcb's up against to have the plotter write on them with etch resistant ink.
First I plot a test on paper, this gives me an idea if anything is wrong, and tells me the size of the piece of board I need to cut.
Here is a bad photo (ok, there all bad, this one is extra so):
This is the finished plot, note that because its being printed on the copper side, its left-right mirrored
Next, a piece of pcb is cut and cleaned with superfine steel wool. After that its cleaned off with windex, alchohol, or acetone this gets the 'dust' out of the grooves.
The pcb is placed against the upper edge of the bracket, the top right and bottom left corners are taped down.
The pen is put in its little holder, and run around on some paper to get it going. The tip needs to be barely out of the holder, any lower and it smacks into the side of the pcb. Its a felt tipped pen. Black staedtler lumicolour or Black BIC "softfeel" permenent felt-tipped markers are the only ones I have found that work.
With the pen clipped in, the "go" button is hit on the computer to start drawing, too long sitting there and it dries up.
Plotter prints to pcb...
Its about this time the etchant tank is filled and plugged in, starts warming up...
I use ammonuim perfulfate because "it makes less of a mess"
PCB all ready to be etched, note the really dark layer of ink, this is important. I find that hand drawn traces cannot get the layer of ink right, the plotter does it perfectly.
The PCB is masked around the edges as an "etchant saver" method, and its clamped into the dipping bracket...
I usually run a ground line all the way around my circuits, its enhanced by the tape mask.
The top of the bracket holds the clamp up on the edges of the tank. There are sever holes to adjust the height. Stainless steel bolt/nuts.
After its done etching, its washed off with water and dired, to make sure there is no residual etchant on the copper.
Then its put in a tray of alcohol or acetone, the ink washes away.
PCB all nice and clean...
Its put back under the plotter, this time for its "silk screen" usually a finer tipped pen is used, usually one of the ones a little too dried up for printing the traces. This time when its put in, its put up against the left edge of the bracket, because of the way the bracket is positioned, its a perfect flip between the top left and bottom right corners.
Nicely aligned silkscreen.. Part of the trick is to make sure that the pens are aligned in the middle for both sides.
Next step takes us to a 10" drill press, I double-side-tape a piece of 1 inch foam onto the drillpres' table. I have a #57 carbide drillbit with a 1/8 inch shank. The press is also set up with an air nozzel that blows away 'bits'. The foam gives me a surface safe to dill into. I drill with the copper side up. Its important to make sure nothing moves while drilling, or you will break the bit.
Drilling comenses (all hand aligned)
Holes are populated with parts via the usual soldering gig...
Board is mounted. Customer is inflicted with product, there is verbal and financial transaction. Life goes on.
End.