AVR Starters guide


This is to help you get started with avrs without having one of those woos circuit boards like the arduino etc, were talking the real stuff BARE METAL.


1)
First we will start with schematics, I'll show you how to put togethor a breadboard with all the basics on it.. This is a breadboard. work on your breadboard with the ground (-) at the bottom.


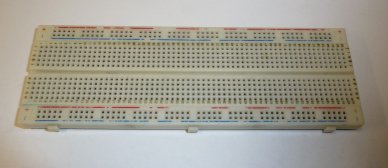
The inside of a breadboard is connected like this


I'm not gonna go into tooo much detail on building a circuit from a schematic,  I recommand "getting started in electronics" by forrest M mimms III, its an old book, but its a good one.

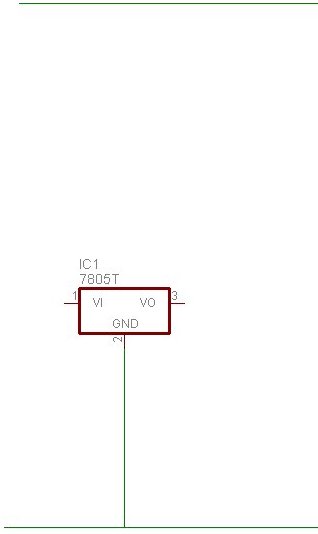
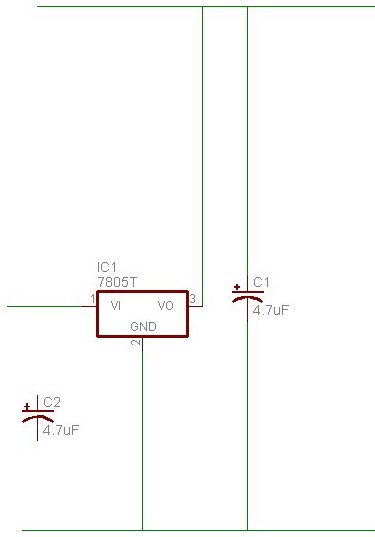
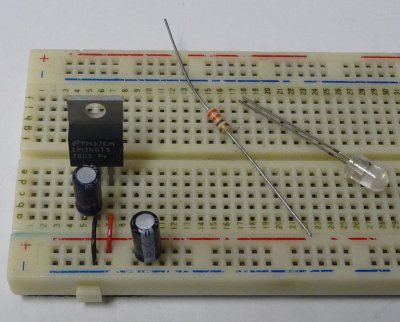
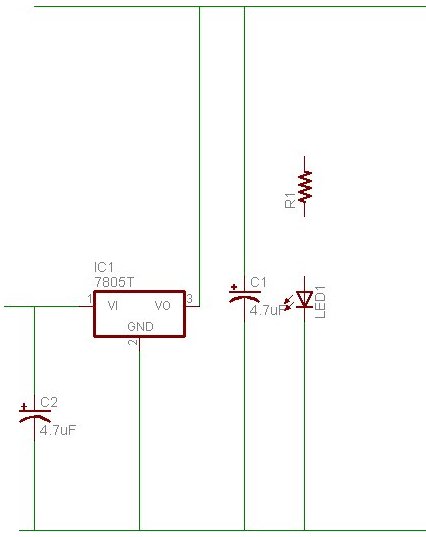
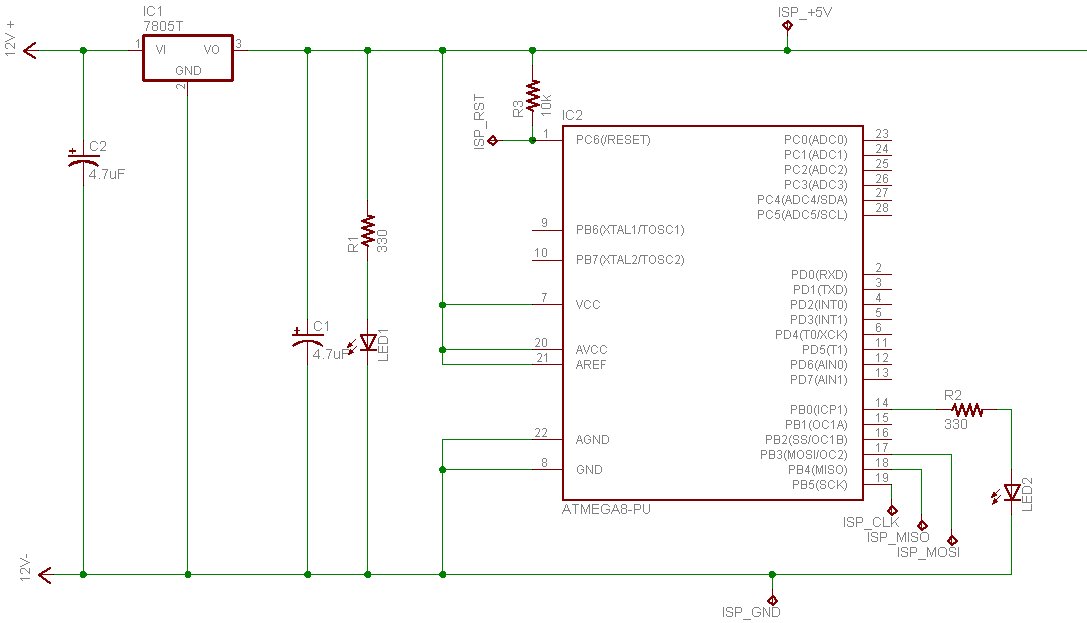
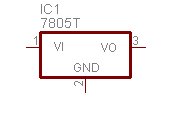
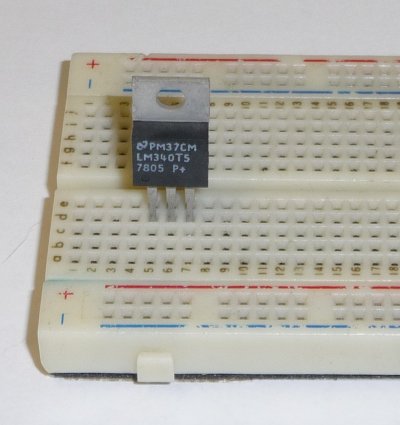
Here we have the symbol for a voltage regulator,


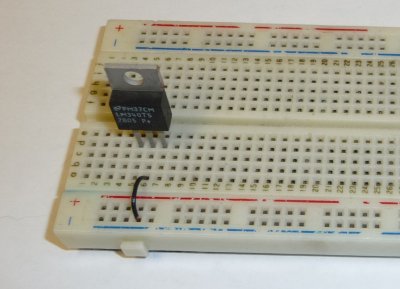
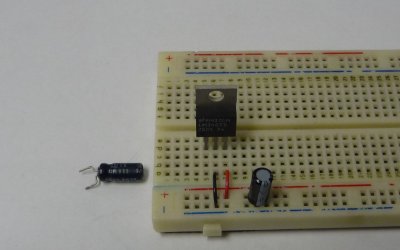
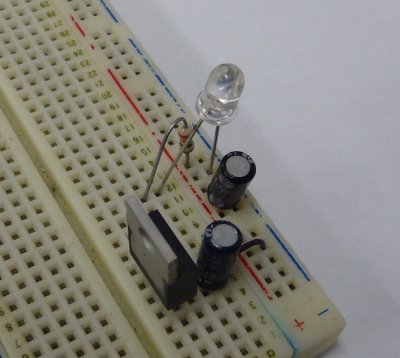
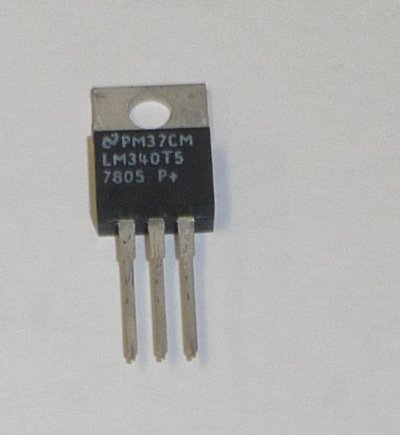
and here we have the part. Questions? no? good.


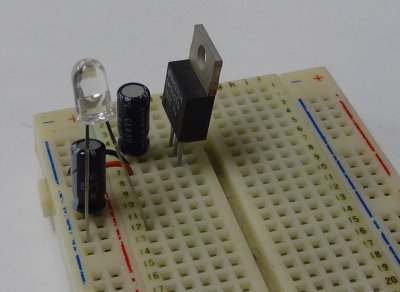
now we plug it into the breadboard


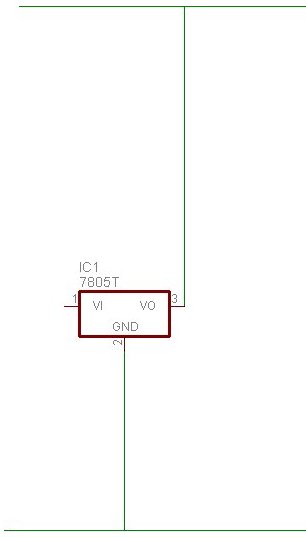
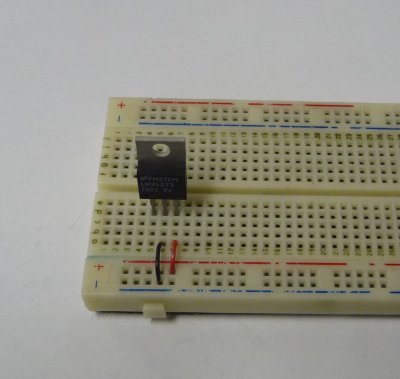
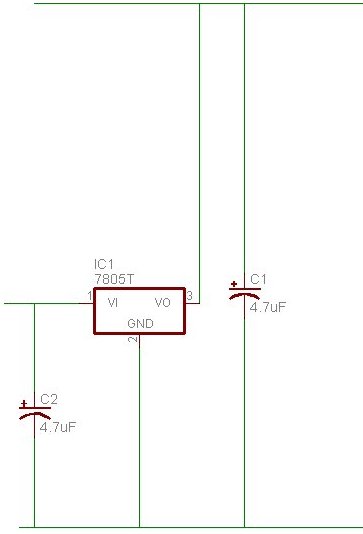
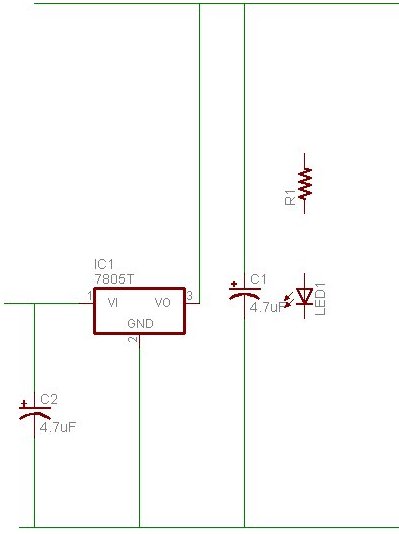
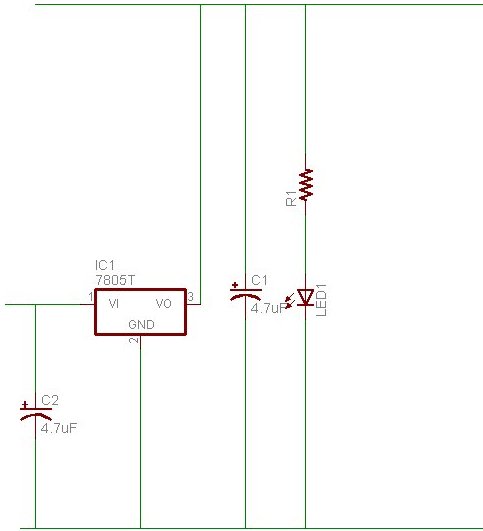
sweet! ok, now we start wiring


2)
Now we wil add the ground wire to the regulator
 first the schematic...


then the real stuff


3)
wire it to positive..


again, real stuff


4)
Now for a capacitor to steady out the voltage


5)
That was on the output, now one for the input


6)
Now for a power indicator led.


Note the way the led is put in, the side with the larger bit of metal is the same side as the line in the schematic


7)
I think you get the idea, I'm going to skip ahead a little. The programmer connections I have marked on the schematic is ISP_signal these are the points to hook in the ISP programmer as their basically all different, I didn't go into detail
.


for the record, I'm using an adapter thats wired like this...


it adapts the 10 pin format into something breadboard-pluggable. I have a bunch available if you want one, but you have to get an irc client, and go to #robotics of the irc.linux.org server.

8)
Next were gonna program it. break out whatever code editor you want, and paste this code into it.

 
#include <avr/io.h>

void Delay(int delay); // function declaration

int main (void) {
DDRB = 0xFF; // set up pin direction
while(1) { // start the loop
PORTB ^= 0xFF ; // toggle the pins
Delay(10); // delay a bit
}
}
void Delay(int delay) {
int x, y;
for (x = delay; x != 0; x--) {
for (y = 1000; y != 0; y--) {
asm volatile ("nop"::); //do nothing for a bit
}
}
}


Save as blink.c which will help you with these next comands

9)
This step is for linux, your windowsness must come to an end. From the directory you saved the file in, run the following 3 commands (this assumes your programmer is configured right, its probably not, and thats a howto I havn't done yet.

avr-gcc -mmcu=atmega8 -I/usr/include/avr/avr/include blink.c -o blink.elf

avr-objcopy -j .text -j .data -O ihex blink.elf blink.hex

avrdude -p m8 -e -U flash:w:blink.hex

You will have to adjust that, my avr libraries are in /usr/include/avr/avr/include  have no idea where yours are, you will need to change that to whereever they are. Success looks like this...


10)
Watch your led flash.


11)
Make a blooming better howto than this..