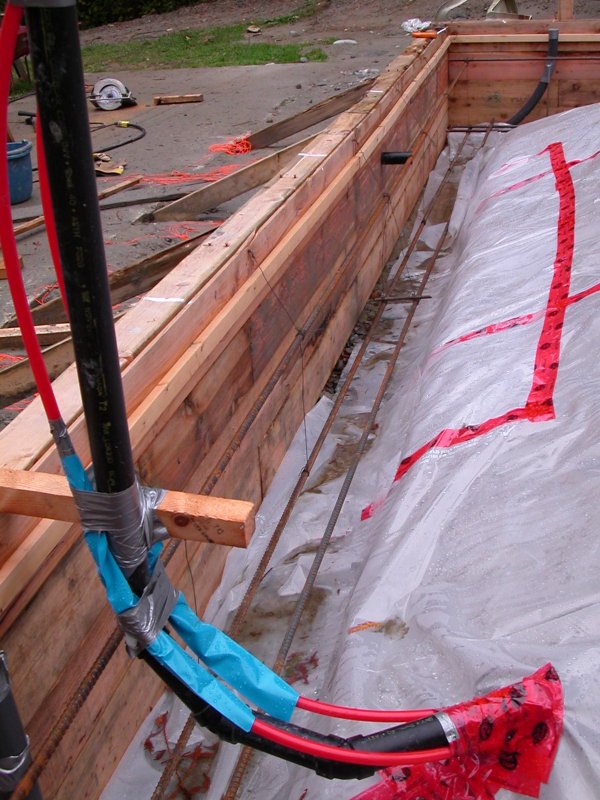
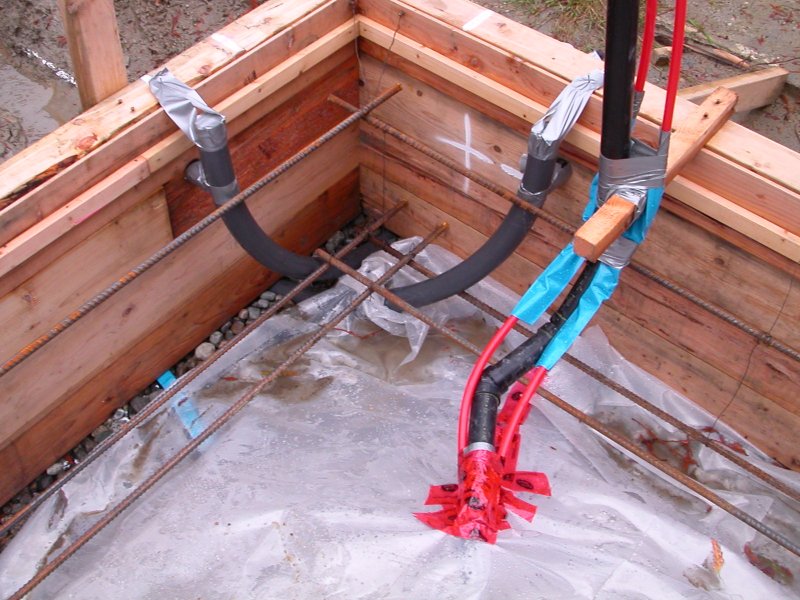
Concrete is good with compressive loads, but will come apart if stretched. To accomidate for this, you add rebar, which creates compressive loads around it out from where any point trying to be stretched is. There are 3 rows total of rebar, two on the bottom and one on the top. All rebar is 5/8", with the exception of the spacers in the bottom row, which are 1/2". To hold them in position for the pour, a combination of tie wire and spacers is used, the wires origionate from a double headed nail above the pour strip, from that the top row is suspended. The wires on the top row are spaced every 4 feet. The rebar is spaced out about 6 inches from the edge of the form. This is the "front left" corner of the shop. The top row will be used to support the remesh. After the pour, the tie wires can be cut away.
The top row is spaced out from the form on the ends by the rebar intersections, and in the middle by sections of pipe. These pipe spaces are used about every 8 feet.

The bottom rows are suspended from the top row with more tie wire. The inner row has rebar spacers about ever 8 feet to hold it from swinging outward. These pieces are made of the 1/2" rebar that was used as steaks when doing the building layout.
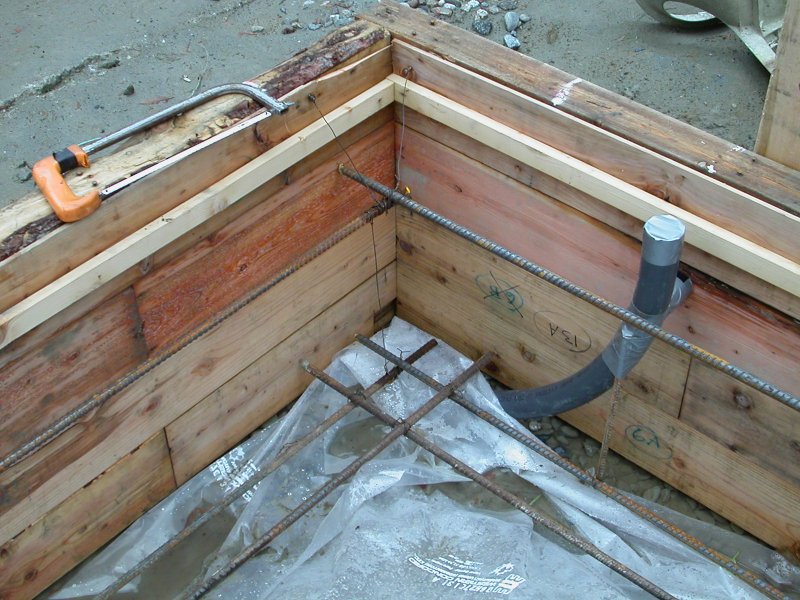
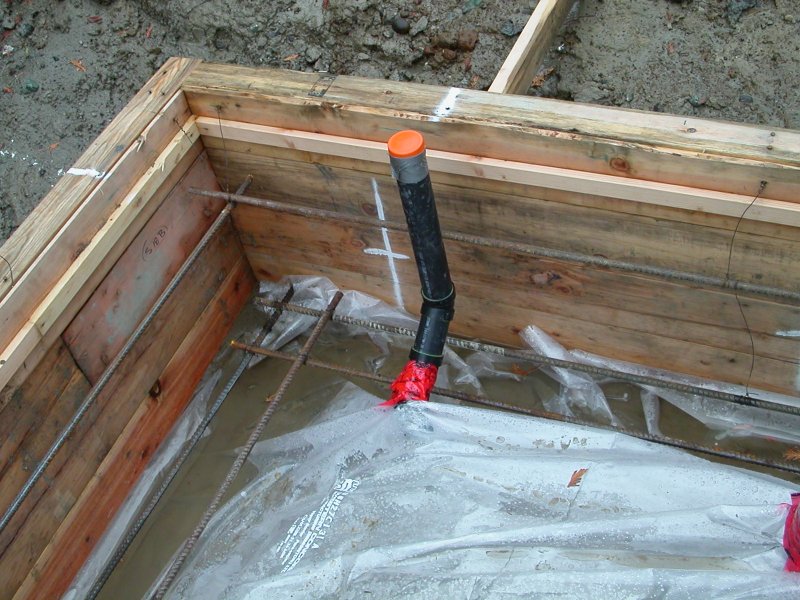
For the plumbing box that intersected
with the rebar, a slot it cut in the box and the rebar is run straight
thru. Its important that the pieces be continious. Note that rather
than fiddling with sealing the box quite carefully against the
concrete, it is filled past the holes with gravel. Some of this will be
locked in by concrete, but not a significant amount. This should be
able to be pulled out later with a good powerfull shopvac. Care needs
to be taken to keep the vapour barrier in tact. This box was going to
be pine, but at some point there was a mixup. Being made from cedar
will mean it can be broken out easily later.

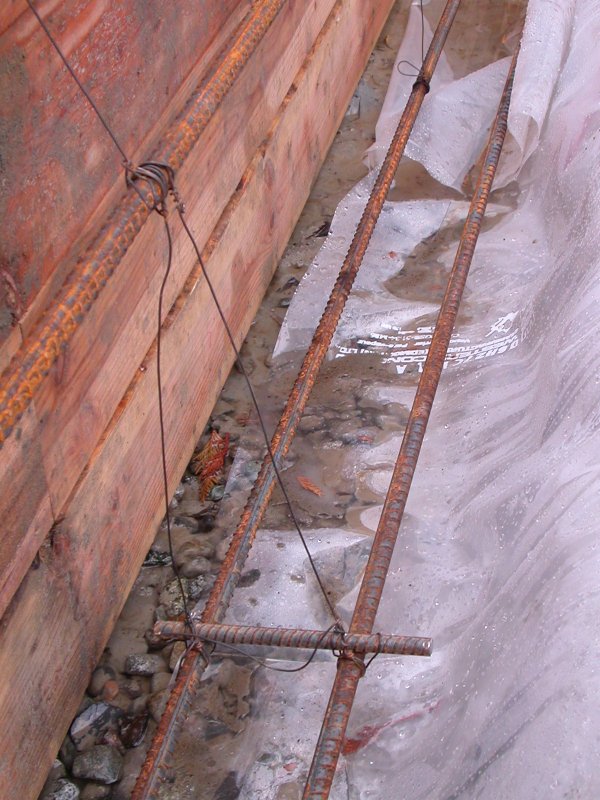
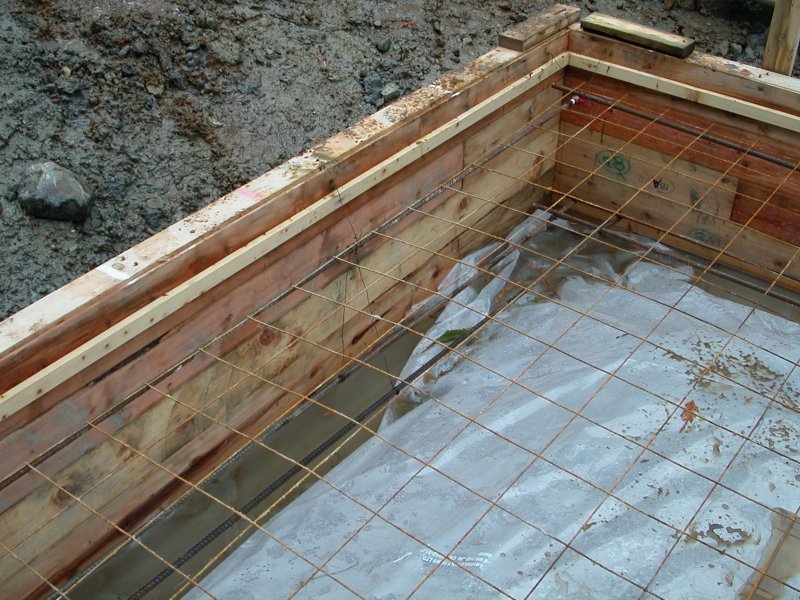
Where the rebar was short (20' and 10'
piece on a 24' span) the rebar was overlapped 6 feet and tied tightly
in 3 places. These intersections are distribited best as possable.

All corners are tightly tied togethor.
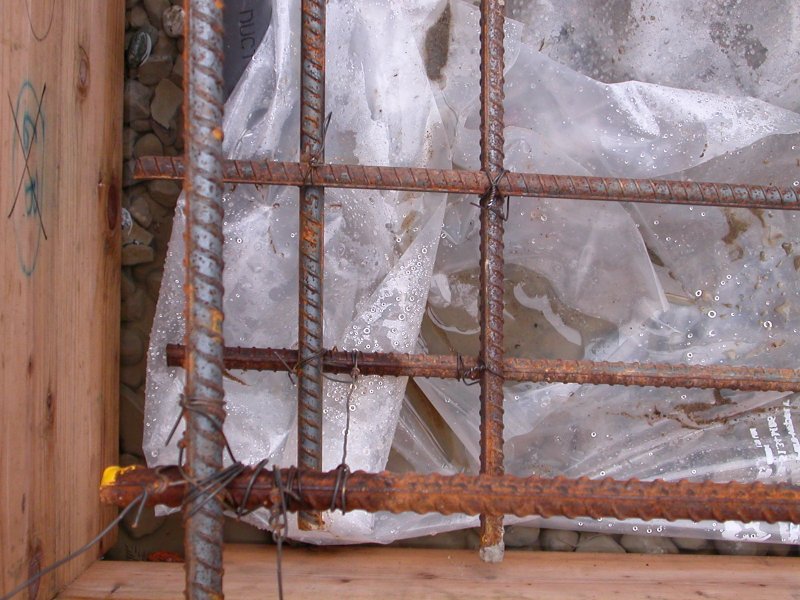
Here you can see the spacings on the bottom row at 6" and 11"
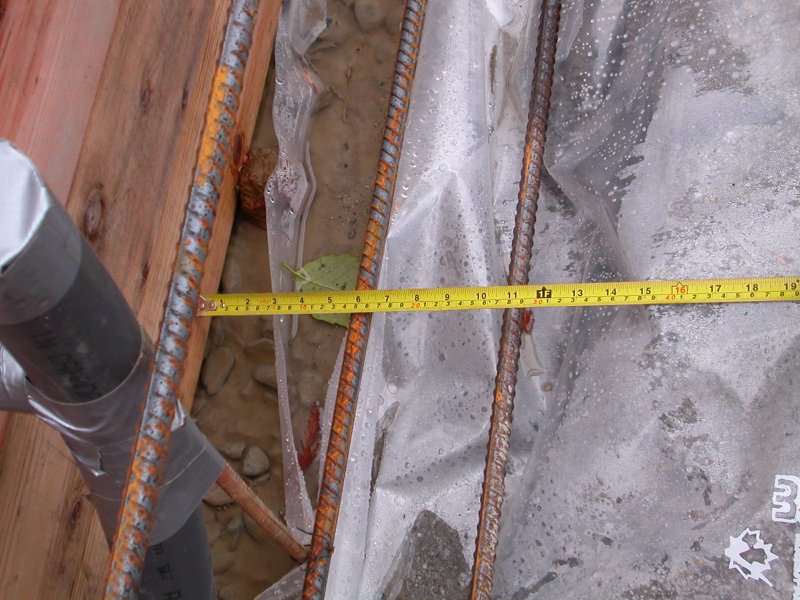
Here you can see the spacings on the bottom row at 6" and 11"
Here is a walk around the edge, starting
with the front left corner, and going clockwise as viewed from above.
Left wall (Hey, dont forget to cleanup the temp wood spacers!)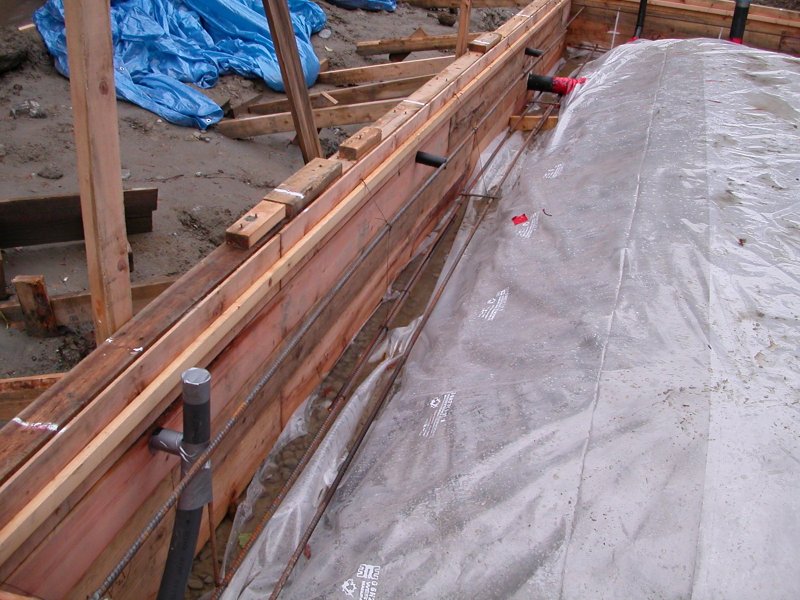
left rear corner
Back wall (test fit of remesh, note blumber says 12", not 4" box)

Rear right corner
Right wall

Front right corner
Front wall