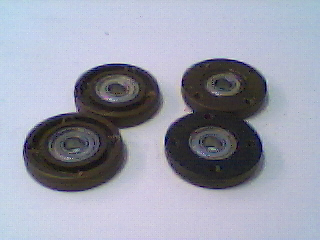
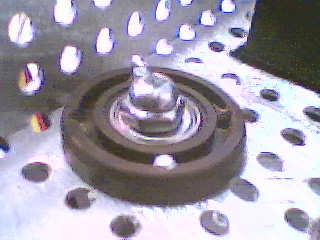
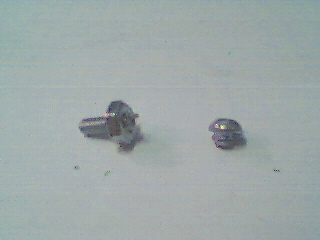
Bearings
4 5.25" floppy drive bearings, drilled to fit cut-n-nut
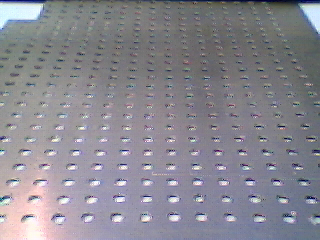
Cut-n-Nut
Acres of it. Thin gauge cut-n-nut.
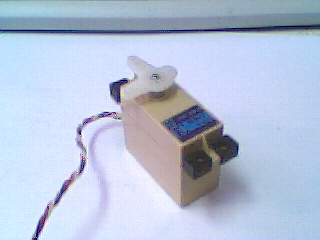
Babyboard mk III
an atmega32 based controller perfect for driving servo's
Instructions:
... Bah, who needs 'em..
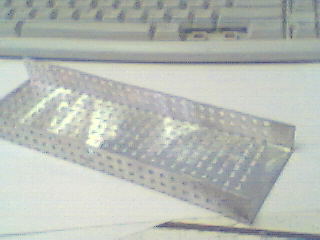
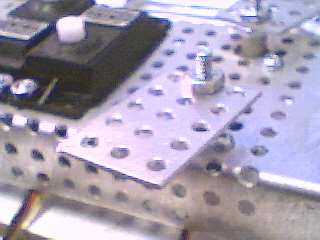
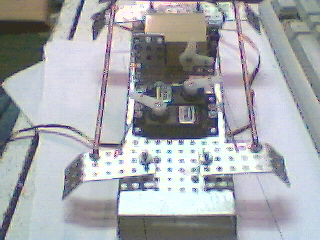
So I need a primary frame, somewhere around 3" by 8"
so I bend up a sheet of cut-n-nut
It turns out this resulted a little norrow, now I have to get a bit
creative, also because I dont want to mount the legs directly to the
servo shafts.
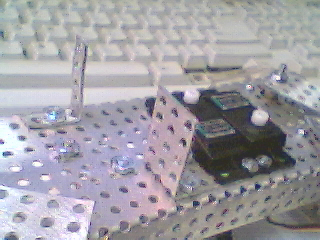
so I lay out my parts...
The round bits are the bearings for the legs, the two propultion
servo's will be stacked sideways, and the lift servo will be offset to
fit it and hooked up via linkage.
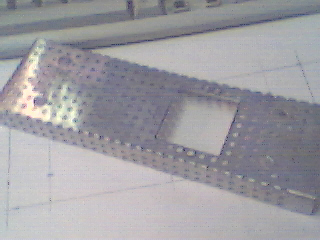
ok, now to cut some holes...
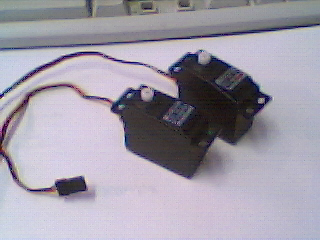
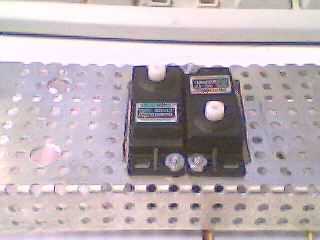
and install some servo's
Install bearings...
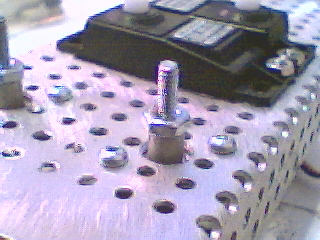
Now for some studs to mount the legs to...
Hipps...
I will be attaching a different kind of leg. Athte same time, I
need something to hook the linkages up to, so these are they.
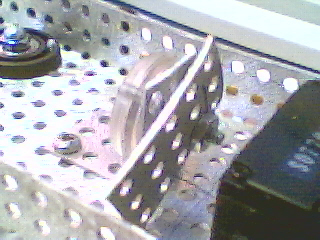
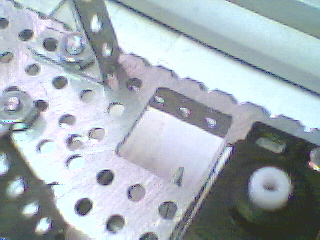
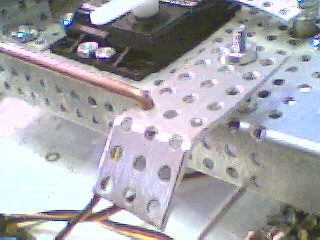
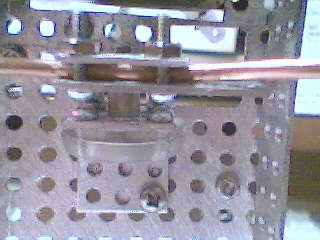
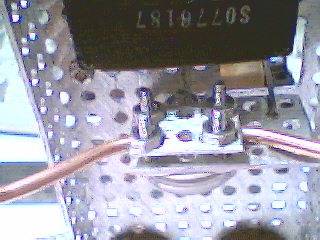
Before I get too far ahead, I need to work out soemthing for the middle legs, these only rock back and forth...
so I need 1 more bearing...
and a bracket to hold it...
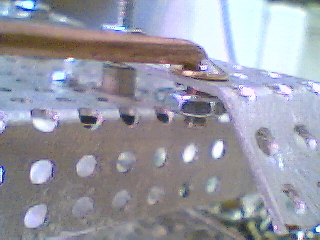
Due to a missing planning phase of the project, I had to drill a few extra holes to center the rocker bearing...
Rocker bearing bolted in
Then we will need a plate to bolt the legs tooo...
Its lopsided because one side will have the servo linkage on it.
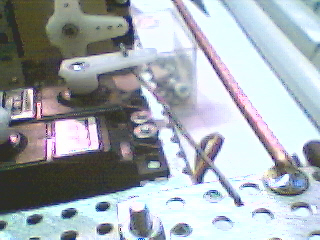
Now to mount the top servo. Again, having skipped the planning step, some creativity is required.
The servo needs to go like this.. there will be a link to the rocker on the bottom.
so, we make up some brackets...
Cut a hole for the linkage (see now right here, if we had done that planning thing, this would already be done)
Then the servo can be mounted
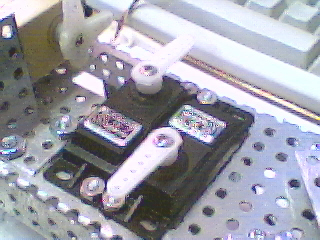
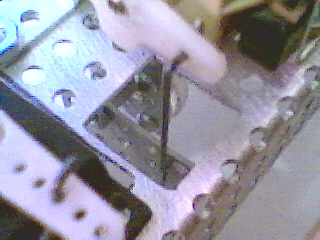
ok, now lets link up all the mechanics...
trim and attach servo arms..
In linking it all up, I realized that the hips needed to be larger, so here is the redo with the link added...
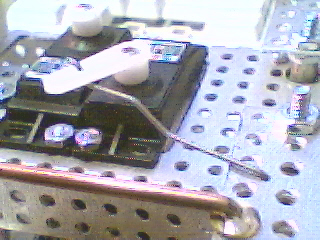
Link detail
I think I will be threading the tips of the links to put retainer nuts
on them, I'd do a double-bend, but this wire is a little too thick.
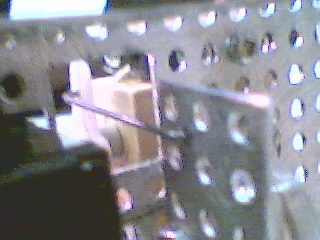
Here are photo's the the finished links attached..
Now to link the servo's to the hips
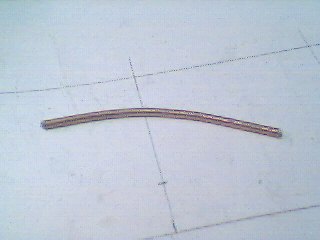
This will be done with smaller linkwire. I found a whole bunch of high tensile strength wire in Grandma's piano, it was perfect.
side 1
side 2
middle
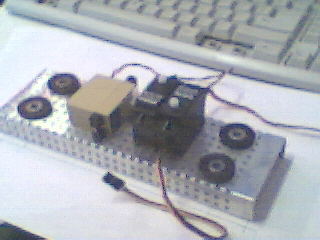
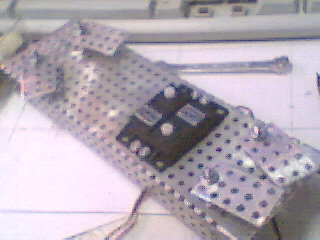
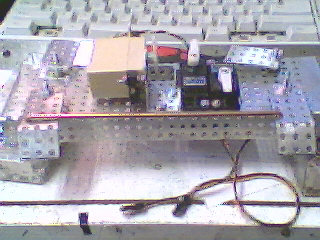
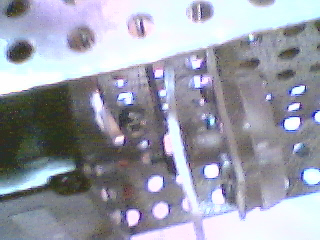
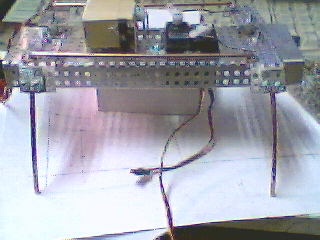
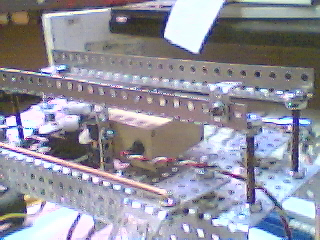
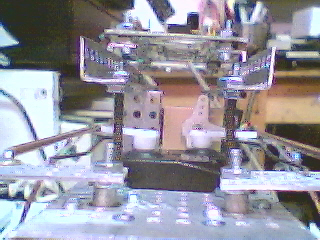
Overview
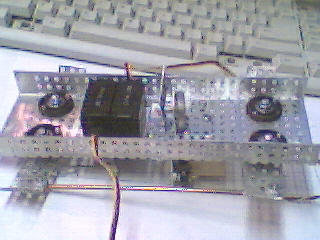
Here is what we have so far
TOP
Bottom
Now for the legs...
These will be made from 1/8" welding wire, same stuff as the links that go front to back.
There attached by being sandwitched between plates
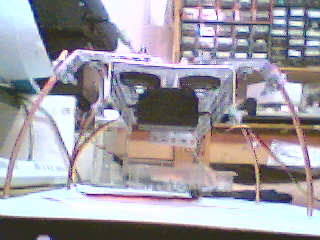
Here it is standing on the outter legs
Next go on the middle legs.
They bolt to the plate in the middle
I slightly overtightened this bolt...
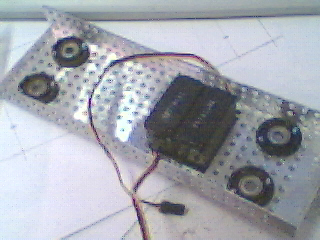
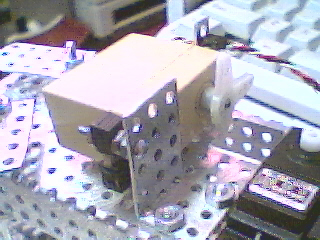
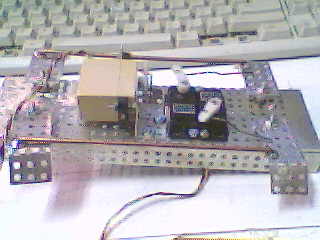
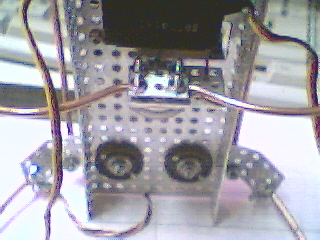
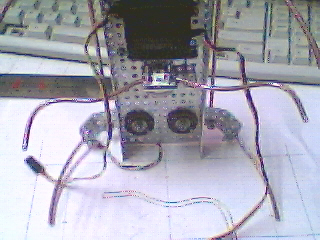
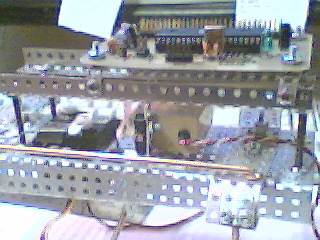
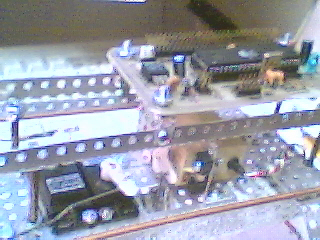
Next we need to add the microcontroller...
First, something to hold it on...
Then we can bolt the controller to it...
Wiring it in is really easy, the servo's just plug right into the connector on the controller.
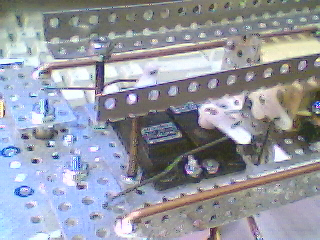
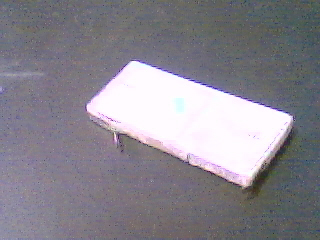
Now what we need is a battery, Rifraf has pointed out that the mega32
will work down to about 2.5 or so volts, so what I'm going to do is
make use of one of the 4.2V Li-ions I have collected for buddy III
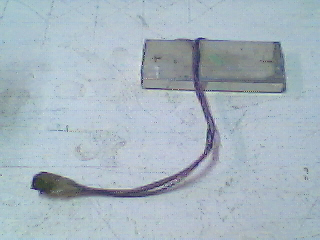
I attach some wires....
I fogot an off switch, which I wont bother with today.
Here is it all wired up.
Thats the serial cable you see going off to the right.