I had some time work work on buddy II
Lay out your materials...
Lay out your materials...
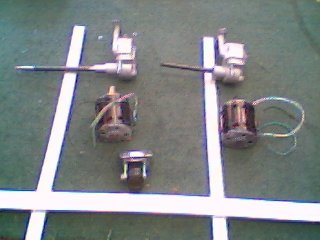
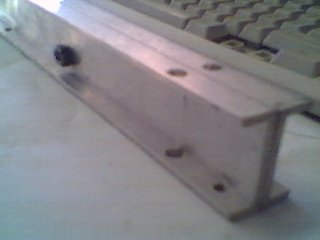
start to shape them, cut them to size
more cutting to size...
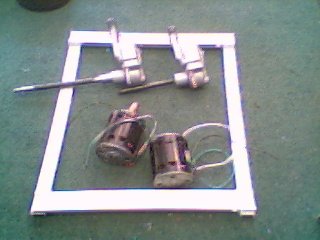
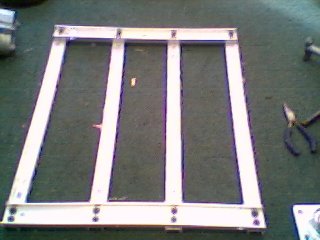
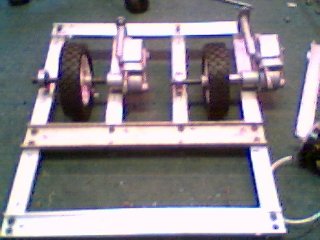
figure out how its all going to go.
just like I imagined, 4 ribs....
draw a detailed plan, include every detail

When drilling holes that need to match, drill them at the same time..
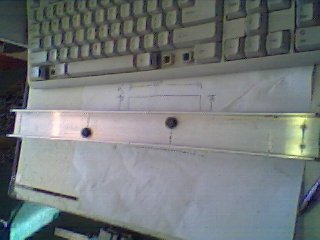
this is best done by drilling the first hole through both, bolting it, carefully drilling a second hole, bolting that, and then drilling the rest like a madman.
REMEMBER the more holes it has, the lighter it will be, and the faster it will be able to accelerate. "Speed Holes"
When bolting togethor, always remember to label all joints, there will only ever be 1 way this goes togethor.
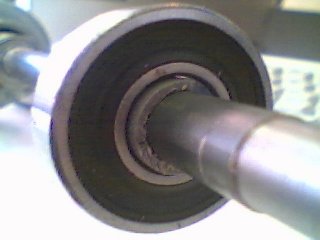
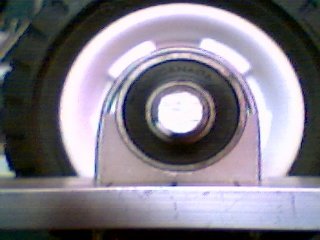
bearings for wheels...
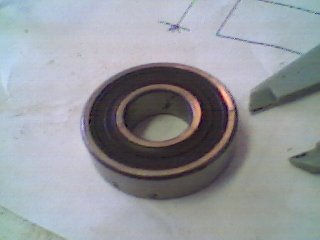
that don't fit the shafts...
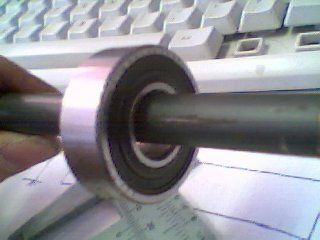
so we make adapter widgets..
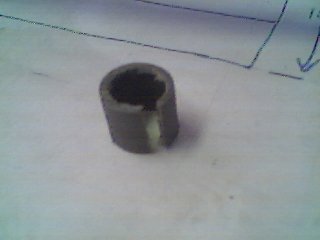
that make the bearing fit.
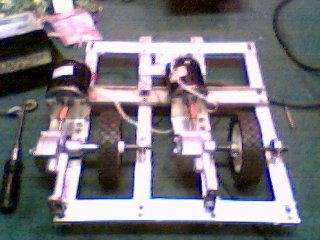
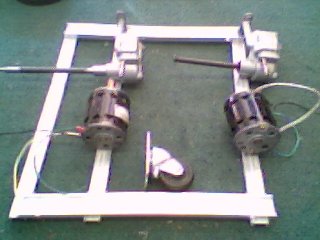
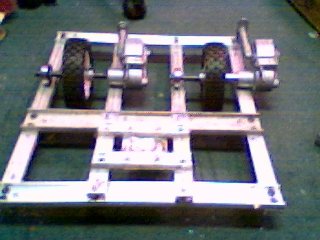
start bolting things into place...
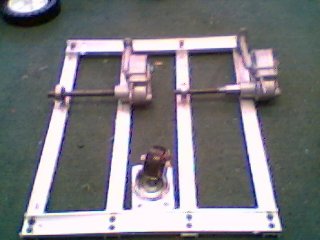
temporarily attach wheels...

for every fuzzy photo, take 1 more fuzzy photo, and a good one
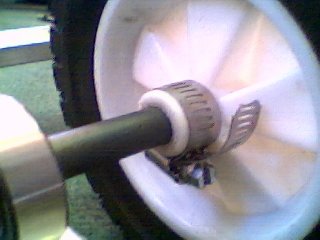
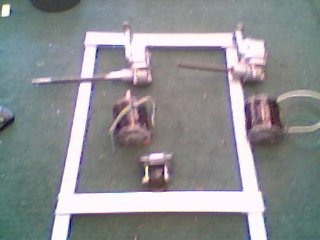
now scrap plan A so that you can make the caster wheel fit.
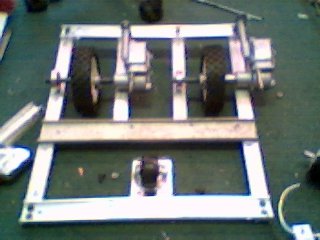
figure out a new plan, a better one, lay out a set of holes...
make sure your corrections are symmetric, this way they are not easily noticed.
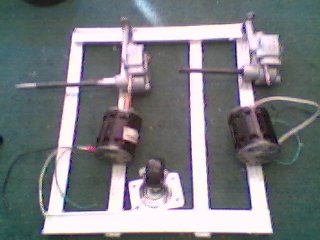
don't forget to support the bearing... give it a nice nylon pillow block too.
now that its mostly assembled, hook up a motor and watch it go round in circles(7M)
oooo prrrrdy....
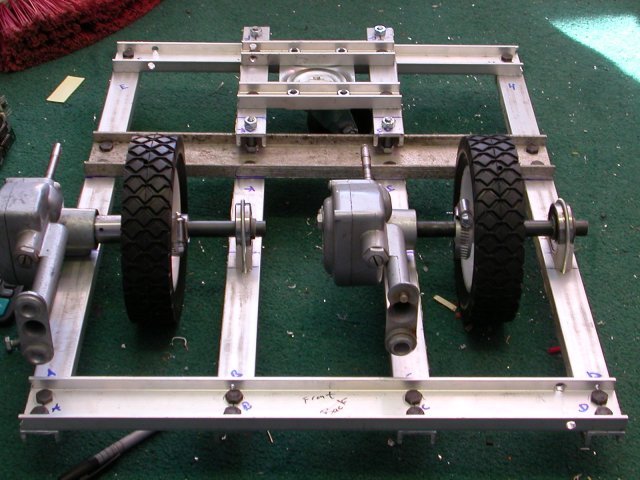
attach motors...mount so they miss bits of the frame that are in the way, also resort to 'plan C' that may involve moving the drive wheels up an inch and a half so the motor misses the part of the frame holding up the caster wheel.
Remember, a good solid plan is the keystone of any project.